
Deploy A Custom VPC with EC2 using Terraform
Terraform, making headaches go away! LOL

Project Manager|| Cloud/DevOps Enthusiast || AWS Certified Cloud Practitioner || Lawyer. Love talking about anything Cloud or DevOps related. Let's Cloud the Cloud!
Introduction
On today's episode, we will be covering a very interesting aspect which is the deployment of an EC2 instance in a custom VPC using Terraform. It is no news that VPC is a very pivotal component of everything Cloud and modern app deployment.
With the need to constantly evolve your cloud environment, automation using Terraform really does help make headaches go away. Imagine having to manually create over hundreds of AWS resources in different AWS accounts for a new team.
Requirements
AWS Knowledge
Understanding of Terraform
Step 1 Create a folder for your terraform config
There are two ways to do this:
a. First way is to create a folder on your desktop and name it deploy_ec2_vpc. Open the folder on your VS Code editor and begin to create the needed files main.tf, provider.tf and variables.tf (where necessary.
b. Second way to create a folder is by; opening your VS Code editor and on your terminal type `
mkdir ~/deploy_ec2_vpc
and press enter.
Then enter into the folder/directory just created by entering this command:
cd ~/deploy_ec2_vpc
and begin to create the needed files as mentioned above.
Step 2
Create a user data file
Create a file within your Deploy EC2 Folder and put your contents of the user data in there. For the purpose of this tutorial we will call our file name userData.sh. Below is the content of our file.
#!/bin/bash
yum update -y
yum install httpd -y
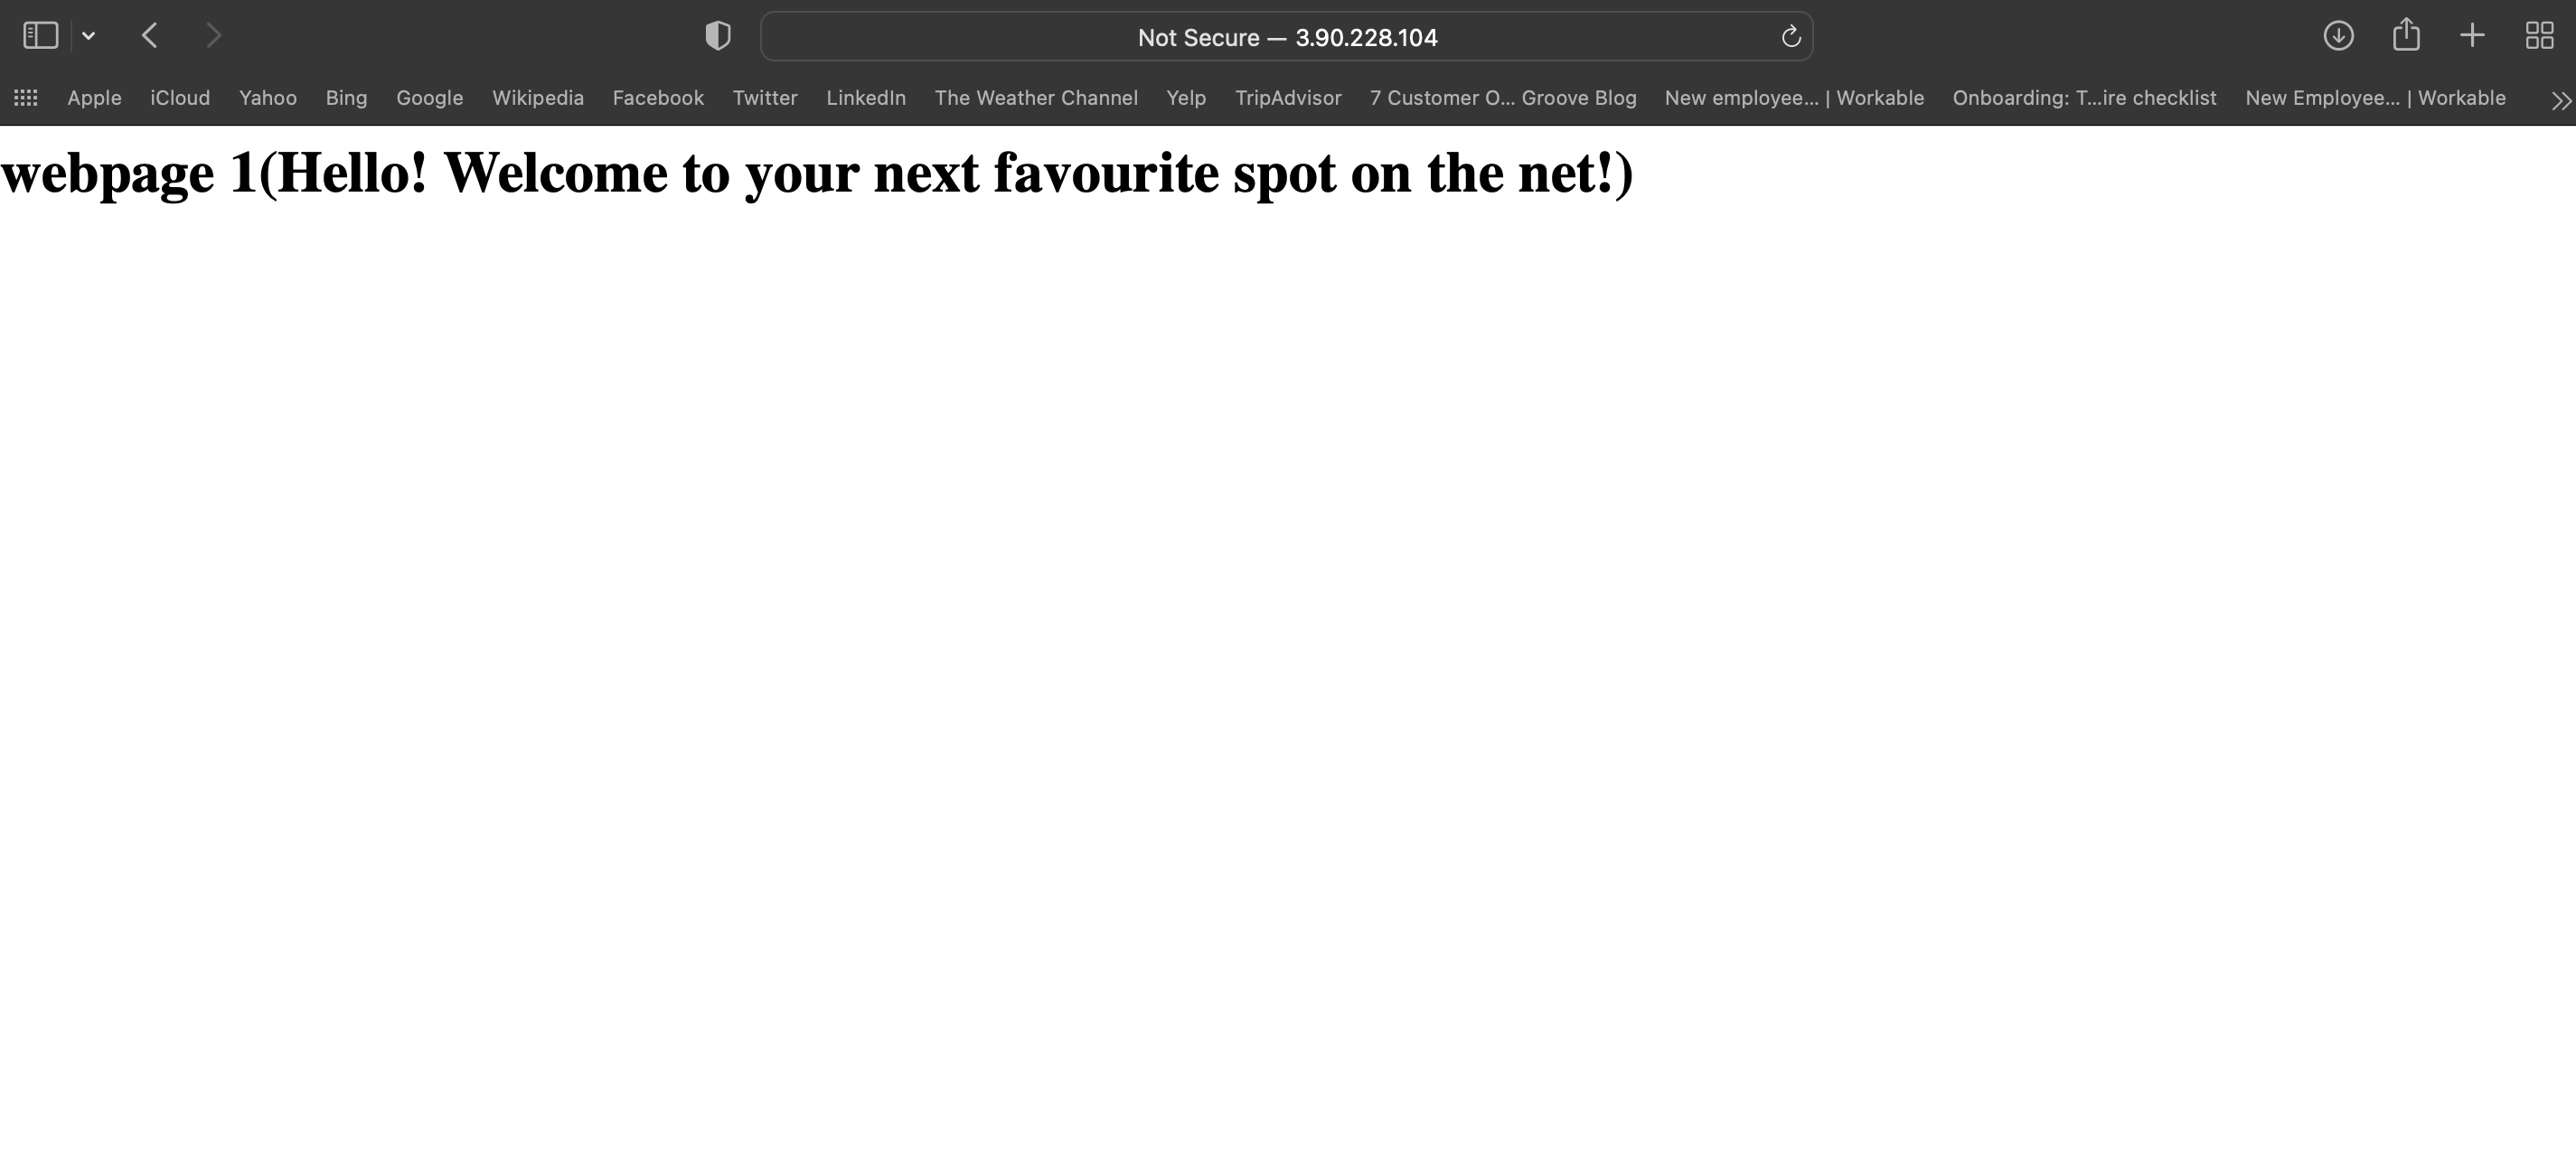
echo "<html><h1>webpage 1(Hello! Welcome to your next favourite spot on the net!)</h1></html>" > /var/www/html/index.html
service httpd start
chkconfig httpd on
Step 3 Build Out your Code
Remember the files I mentioned you have to create? Yes, the main.tf file is your main file basically and it houses where you would build out your terraform resources and in the case of this tutorial, your EC2 Module and VPC Module.
The provider.tf is not a compulsory file as the contents can equally be created in the main.tf. However, it creates a cleaner visual of your code (at least for me, lol).
Configure AWS Provider
provider "aws" {
  profile = "vpc-demo"
  region = "us-east-1"
}
The variables.tf file is used in cases where your code will have a variable resource that your code/config will reference. This tutorial does not require it as we will be building a very basic VPC.
Build out the Config for your VPC and Subnets
Create VPC
resource "aws_vpc" "nono_demo_vpc" {
  cidr_block       = "10.0.0.0/16"
  instance_tenancy = "default"

  tags = {
    Name = "nono_vpc"
  }
}
Public Subnet
resource "aws_subnet" "nono_public_subnet" {
  vpc_id     = aws_vpc.nono_demo_vpc.id
  cidr_block = "10.0.1.0/24"

  tags = {
    Name = "nono_public_subnet"
  }
}
Private Subnet
resource "aws_subnet" "nono_private_subnet" {
  vpc_id     = aws_vpc.nono_demo_vpc.id
  cidr_block = "10.0.2.0/24"

  tags = {
    Name = "nono_private_subnet"
  }
}
Next up is the Security Group, IGW and NAT Gateway
Remember that the security group is used to secure the communication of your instances with the internet (0.0.0.0/0) or within the VPC as well.
The resources in a Public subnet can communicate with the internet via an IGW while that of the Private subnet cannot communicate by itself and has to accompanied by a NAT Gateway which will have to be assigned an Elastic IP.
Security Group
resource "aws_security_group" "nono_demo_sg" {
   name        = "nono_demo_sg"
   description = "Allow HTTP and SSH traffic"
   vpc_id      = aws_vpc.nono_demo_vpc.id

   ingress {
     description      = "HTTP from VPC"
     from_port        = 80
     to_port          = 80
     protocol         = "tcp"
     cidr_blocks      = [aws_vpc.nono_demo_vpc.cidr_block, "0.0.0.0/0"]
   }

  ingress {
     description      = "SSH from VPC"
     from_port        = 22
     to_port          = 22
     protocol         = "tcp"
     cidr_blocks      = [aws_vpc.nono_demo_vpc.cidr_block, "0.0.0.0/0"]
   }

   egress {
     from_port        = 0
     to_port          = 0
     protocol         = "-1"
     cidr_blocks      = ["0.0.0.0/0"]
   }

   tags = {
     Name = "allow_hhtp_ssh"
   }
 }
Internet Gateway
 resource "aws_internet_gateway" "nono_demo_igw" {
   vpc_id = aws_vpc.nono_demo_vpc.id

   tags = {
     Name = "nono_demo_igw"
   }
 }
Elastic IP
 resource "aws_eip" "demo_elastic_ip" {
   vpc      = true
 }
NAT Gateway
 resource "aws_nat_gateway" "nono_demo_nat_gateway" {
   allocation_id = aws_eip.demo_elastic_ip.id
   subnet_id     = aws_subnet.nono_public_subnet.id

   tags = {
     Name = "Demo NAT Gateway"
   }

# To ensure proper ordering, it is recommended to add an explicit dependency on the Internet Gateway for the VPC.

  depends_on = [aws_internet_gateway.nono_demo_igw]
 }
Next up is the configuration of Route Tables and EC2
Route Tables
Public Route
 resource "aws_route_table" "nono_demo_vpc_public_RouteTable" {
   vpc_id = aws_vpc.nono_demo_vpc.id

   route {
     cidr_block = "0.0.0.0/0"
     gateway_id = aws_internet_gateway.nono_demo_igw.id
   }

   tags = {
     Name = "vpc_Public_RouteTable"
   }
 }
Private Route
 resource "aws_route_table" "nono_demo_vpc_private_RouteTable" {
   vpc_id = aws_vpc.nono_demo_vpc.id

   route {
     cidr_block = "0.0.0.0/0"
     gateway_id = aws_nat_gateway.nono_demo_nat_gateway.id
   }

   tags = {
     Name = "vpc_Private_RouteTable"
   }
 }
P.S - Notice that the gateway_id for the Public Route references an Internet Gateway (IGW) while the gateway_id for the Private Route references a NAT Gateway. This is one of the major difference between a Private and a Public Subnet.
Route Table Association
Public Route Association
 resource "aws_route_table_association" "nono_demo_RouteTable_Assoc" {
   subnet_id      = aws_subnet.nono_public_subnet.id
   route_table_id = aws_route_table.nono_demo_vpc_public_RouteTable.id
 }
Private Route Association
 resource "aws_route_table_association" "nono_demo_RouteTable_Assoc" {
   subnet_id      = aws_subnet.nono_private_subnet.id
   route_table_id = aws_route_table.nono_demo_vpc_private_RouteTable.id
 }
Create EC2
 resource "aws_instance" "nono_EC2webserver" {
   ami = "ami-0b0dcb5067f052a63"
   instance_type = "t2.micro"
   key_name = "nono-demo"
   subnet_id = aws_subnet_id.nono_public_subnet.id
   vpc_security_group_ids = [aws_security_group.nono_demo_sg.id]
   associate_public_ip_address = true
   root_block_device {
     volume_type = "gp2"
     volume_size = "20"
     delete_on_termination = true
   }
   user_data = "${file("userData.sh")}"
   tags = {
     Name = "demoEC2WebServer"
   }
 }
From the above, the ami-0b0dcb5067f052a63 is region specific. In this tutorial, I grabbed an ami from us-east-1 region. Be sure to use an ami from the region you are deploying into.
Step 4
Verify the resources Terraform will create
- VPC
- Public Subnet
- Private Subnet
- Security Group
- Internet Gateway
- Route Table
- Route Table Association
- EC2 Instance (and the
user data)
Once every resource is present, configure your aws profile. For the purpose of this tutorial I have an already created profile called 'techchak' and that will be used. If you do not know how to configure an aws profile, check here.
terraform {
  required_providers {
    aws = {
      source  = "hashicorp/aws"
      version = "~> 4.0"
    }
  }
}

# Configure the AWS Provider
provider aws {
  profile = "techchak"
  region = "us-east-1"
}
Remember to always make small incremental changes, proceed to input the command terraform init and terraform plan and terraform apply for each resource you need to deploy.
While applying the NAT Gateway resource, it may take a while, do not fret. NAT Gateways generally take some two minutes to successfully create, this is generally seen with Terraform because it ensures that the resource is fully created and active before it reports back as complete.
Also, ensure that for each resource applied/deployed you confirm on the AWS console that the resource has been created.
Now proceed to your EC2 Console and check your instances for the already created instance. Click on the instance id and copy the public ipv4 address, input it in your browser and your website is up and running! Congratulations!!
Conclusion
For this tutorial we used aws_instance Terraform resource which creates one or more instances depending on your count value. In a future article, we will leverage aws_autoscaling_group which will ensure that new instances are spun up automatically even when the old ones go down and this helps with high availability.
Until next time, feel free to check my other articles here


