
How To Run A React App On A Webserver

Project Manager|| Cloud/DevOps Enthusiast || AWS Certified Cloud Practitioner || Lawyer. Love talking about anything Cloud or DevOps related. Let's Cloud the Cloud!
Introduction
Recently, a react js application was developed and your dev team will like to host it on a web server. The app is not ready for production but they still want you to create a proof of concept on how the react app will be deployed into a web server. As a temporary solution. they have created a sample react app that you can use for the POC.
The app is available in this repo https://github.com/techchak/techchak-sample-react-app-1. The team will like you to quickly spin up a web server to host the application for testing and you have to create an amazon Linux server in a default VPC and ensure the server is publicly accessible. The server should have a security group that allows anyone to ssh (it is just for test) and opens port 80. Also, make sure you can access the app via its Public IP.
Project Prerequisites
Know how to Clone a Repository
Knowledge of Terraform
Know how to run a react app on a server.
Steps
- Build out your module to have a vpc, public subnet, security group, internet gateway, public route, public route table association, ec2.
#Create VPC
resource "aws_vpc" "nono_demo_vpc" {
  cidr_block       = "10.0.0.0/16"
  instance_tenancy = "default"

  tags = {
    Name = "nono_vpc"
  }
}

#Public Subnet
resource "aws_subnet" "nono_public_subnet" {
  vpc_id     = aws_vpc.nono_demo_vpc.id
  cidr_block = "10.0.1.0/24"

  tags = {
    Name = "nono_public_subnet"
  }
}

#Security Group
resource "aws_security_group" "nono_demo_sg" {
  name        = "nono_demo_sg"
  description = "Allow HTTP and SSH traffic"
  vpc_id      = aws_vpc.nono_demo_vpc.id

  ingress {
    description      = "HTTP from VPC"
    from_port        = 3000
    to_port          = 3000
    protocol         = "tcp"
    cidr_blocks      = [aws_vpc.nono_demo_vpc.cidr_block, "0.0.0.0/0"]
  }

 ingress {
    description      = "SSH from VPC"
    from_port        = 22
    to_port          = 22
    protocol         = "tcp"
    cidr_blocks      = [aws_vpc.nono_demo_vpc.cidr_block, "0.0.0.0/0"]
  }

  egress {
    from_port        = 0
    to_port          = 0
    protocol         = "-1"
    cidr_blocks      = ["0.0.0.0/0"]
  }

  tags = {
    Name = "allow_hhtp_ssh"
  }
}

#Internet Gateway
resource "aws_internet_gateway" "nono_demo_igw" {
  vpc_id = aws_vpc.nono_demo_vpc.id

  tags = {
    Name = "nono_demo_igw"
  }
}

#Route Tables
#Public Route
resource "aws_route_table" "nono_demo_vpc_public_RouteTable" {
  vpc_id = aws_vpc.nono_demo_vpc.id

  route {
    cidr_block = "0.0.0.0/0"
    gateway_id = aws_internet_gateway.nono_demo_igw.id
  }

  tags = {
    Name = "vpc_Public_RouteTable"
  }
}

#Route Table Association
#Public Route
resource "aws_route_table_association" "nono_demo_public_RouteTable_Assoc" {
  subnet_id      = aws_subnet.nono_public_subnet.id
  route_table_id = aws_route_table.nono_demo_vpc_public_RouteTable.id
}

#Create EC2
resource "aws_instance" "nono_EC2webserver" {
  ami = "ami-0574da719dca65348"
  instance_type = "t2.micro"
  key_name = "nono-demo"
  subnet_id = aws_subnet.nono_public_subnet.id
  vpc_security_group_ids = [aws_security_group.nono_demo_sg.id]
  associate_public_ip_address = true
  root_block_device {
    volume_type = "gp2"
    volume_size = "20"
    delete_on_termination = true
  }
  user_data = "${file("userData.sh")}"
  tags = {
    Name = "demoEC2WebServer"
  }
}
For my EC2 instance, I used an Ubuntu ami by navigating to my EC2 console and clicked on launch instanceand just grabbed an available free-tier ami.
2. Now, one thing to note when automating app deployment using scripts like bash, powershell, python, etc is to ensure that you test the content of your script on your server and make sure it works. This is because, when EC2 is bootstrapping your server using userData, you will not have the opportunity to be present to click or approve anything which is also why we will use the -y flag to prevent yes prompt during installation.
3. Create a userData.sh file and build out your script which will run the app once the EC2 is bootstrapped.
Please note that this user data script was built and tested on a manually created EC2 instance.
#!/bin/bash
sudo apt-get update
sudo apt install nodejs -y

#run command to install npm
sudo apt install npm -y

git clone https://github.com/techchak/techchak-sample-react-app-1.git

cd techchak-sample-react-app-1/
#run this to install node modules that the app needs
# -y flag is to avoid a yes prompt during installation
npm install --force -y

#run this to start app in background
sudo npm install pm2 -g

pm2 --name Nono start npm -- start
4.sudo apt-get update updates the packages on the Ubuntu instance and it is always recommended to run it within your bash script.
sudo apt install nodejs -y installs nodejs which is basically a server environment that runs JavaScript and in this case React.
sudo apt install npm -y also installs npm which is the node package manager used to install node packages.
Now clone the GitHub repo that has the react app by running the git clone https://github.com/techchak/techchak-sample-react-app-1.git command and it will create a techchak folder on your terminal.
Now cd into that folder cd techchak-sample-react-app-1 and run npm install --force -y and sudo npm install pm2 -g inorder to run the app in the background.
N/B- Usually this react app can be started using npm start which does not run the app in the background thereby leaving the prompt open. This then means that if you close your system or wherever this app is installed, the app will stop working.
To run the process in the background and keep the app alive, we will leverage PM2. PM2 is basically a process manager that helps run your app in the background round the clock.
To read more on PM2 check here.
After sudo npm install pm2 -g has been run also input the command pm2 --name Nono start npm --start and you will get this seen below.

Next step is to get the app running on your EC2 instance using Terraform.
5. cd into your REACT_APP folder on your terminal. You can first check your current working directory by inputing the commands below
pwd

ls

cd REACT_APP
6. Run the following Terraform commands
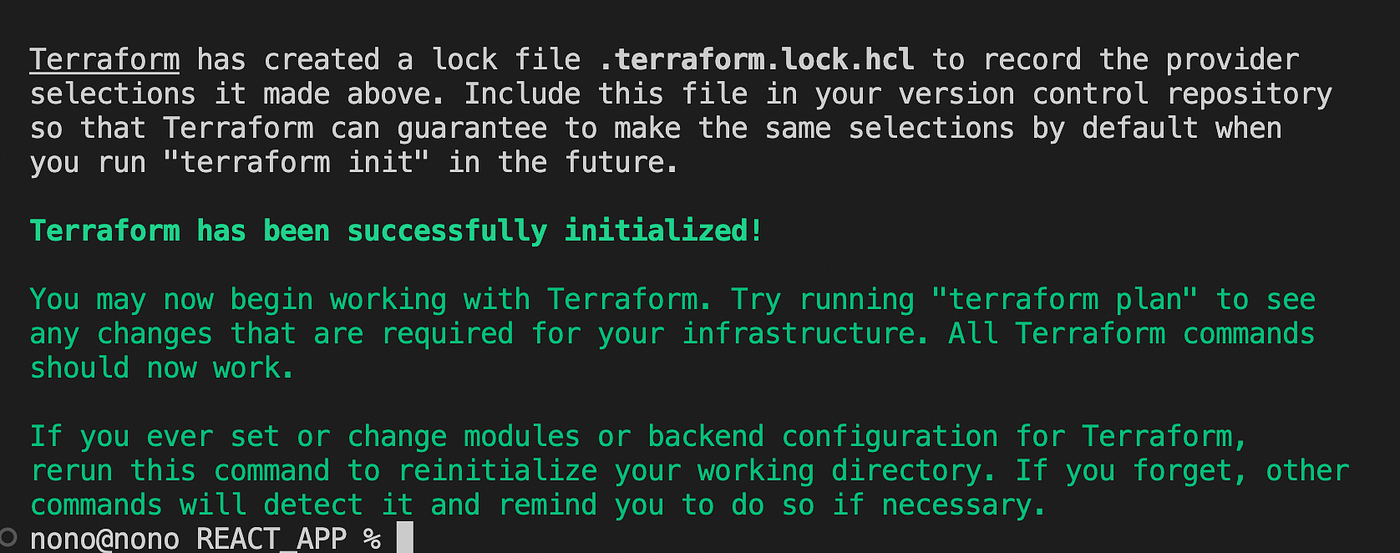
terraform init
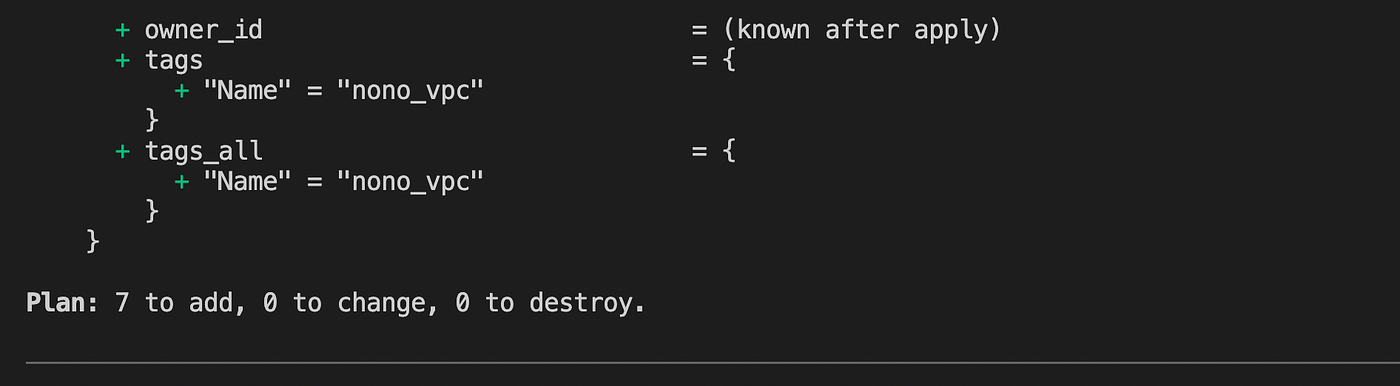
terraform plan
terraform apply
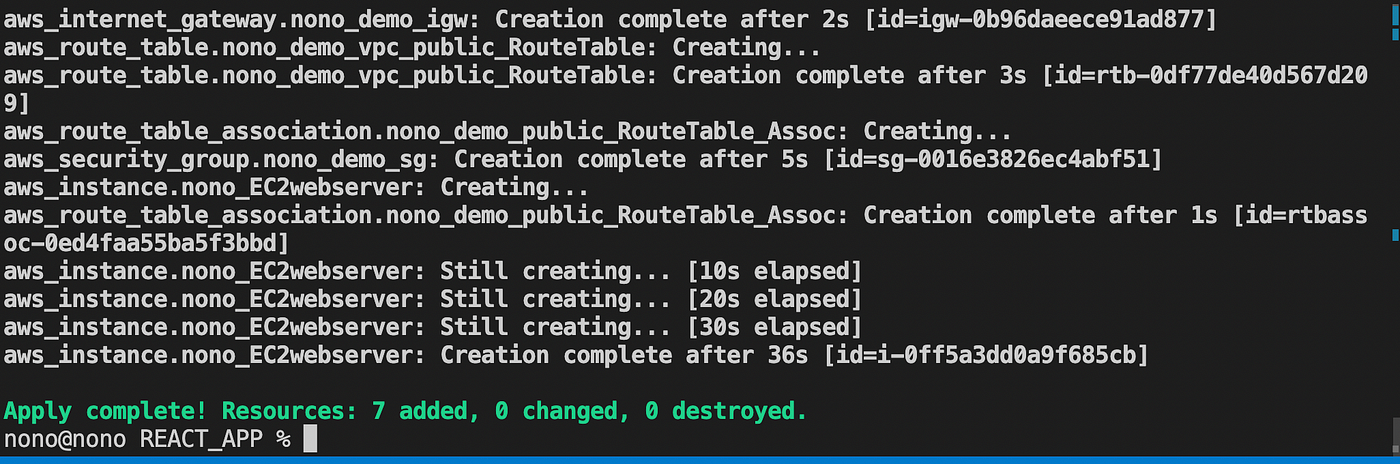
The above shows that Terraform has successfully applied and created the resources in your main.tf and provider.tf files.
7. Check the AWS Console to verify that your resources have been created and also navigate to your EC2 Console and find your newly created instance.
We can see below that Terraform has actually created our instance as specified.

8. Copy the Public IPv4 address:3000 and paste on the web browser to hit our website.

That’s it. You just successfully ran a react app on a webserver. Please ensure you delete your resources by inputing the command terraform destroy so you do not incur costs, but how sweet is this!
Check out my other articles here and until next time, keep getting your hands dirty and diving deep on more hands-on projects! If you found this helpful then do click on the 👏 button and also feel free to drop a comment.
Follow for more articles. 😊


