
Building A Docker Image From A React App

Project Manager|| Cloud/DevOps Enthusiast || AWS Certified Cloud Practitioner || Lawyer. Love talking about anything Cloud or DevOps related. Let's Cloud the Cloud!
Project Intro
There is a need to build a docker image of a web application that is built in React and NodeJS which runs locally. This image must run on either EC2 or ECS.
A docker image of that application must be built and for that, we need to create a Dockerfile for it and after creating a Dockerfile build the image locally and push that image to Docker Hub or ECR so we can pull it inside the EC2 or ECS using its credentials.
Project Prerequisites
Must be familiar with Web Applications and their dependencies and how they work.
Must be familiar with NodeJS and React.
Must know about Docker and Dockerfile.
Must Know all commands for creating and building Docker Images.
Must have an idea of Docker Hub or ECR so that after creating the image we should push images to DockerHub or ECR.
Steps To Follow
1- Open VS Code and create a folder
Name the folder “docker_React”. Open the folder on VS Code and on your terminal clone the GitHub react app. Clone GitHub repo that has the React app using git clone https://github.com/techchak/techchak-sample-react-app-1 .
2- Create a Dockerfile and build out its config
Click on the just created folder and create a file and name it Dockerfile .
# Specify the parent image from which we build
FROM --platform=linux/amd64 node:19-alpine

# Set the working directory

WORKDIR /app

# Copy files from your host to your current working directory

COPY package.json .

RUN npm install --force -y

COPY . .

# Command docker runs to start the app
CMD ["npm", "start"]
3- Docker build using the command
docker build -t nono -f /path/to/dockerfile
OR
docker build -t nono .
the -t flag means tag; that is the name you want to call your docker image and from the above we named it nono.
You can either go the long way by entering the path as in the first option or use the second option which is a shorter way. The . means that the file ( Dockerfile ) docker needs to look at inorder to build the image is in the same directory/folder.
4. Input the command docker images to see the images available and if your newly created image is there too.
5. Before we push our newly created image to ECR. Let us first test it locally and see if it works. This test we are doing locally is basically what we will do also on EC2/ECS.
Input the command docker run -p 3000:3000 nono:latest .
When I ran this command, it failed so let’s look at how I troubleshoot a failing container.
First, run docker logs container_id . To get this container ID, run docker ps -a . Running docker logs displayed nothing. This goes to show the importance of a -id flag.
Then I ran the following command docker run -id -p 3000:3000 nono:latest. This is different from the first command as it did not have -id in it.
-id runs the container in detached and interactive mode. Read here for more on docker flag reference.
After that, run docker ps to see running containers. If you run this command and it doesn't show you the running containers, run docker ps -ato show you all available containers both running and stopped containers.

As we can see from the above, upon inputing the docker ps command it displayed my container as running and thats our container.
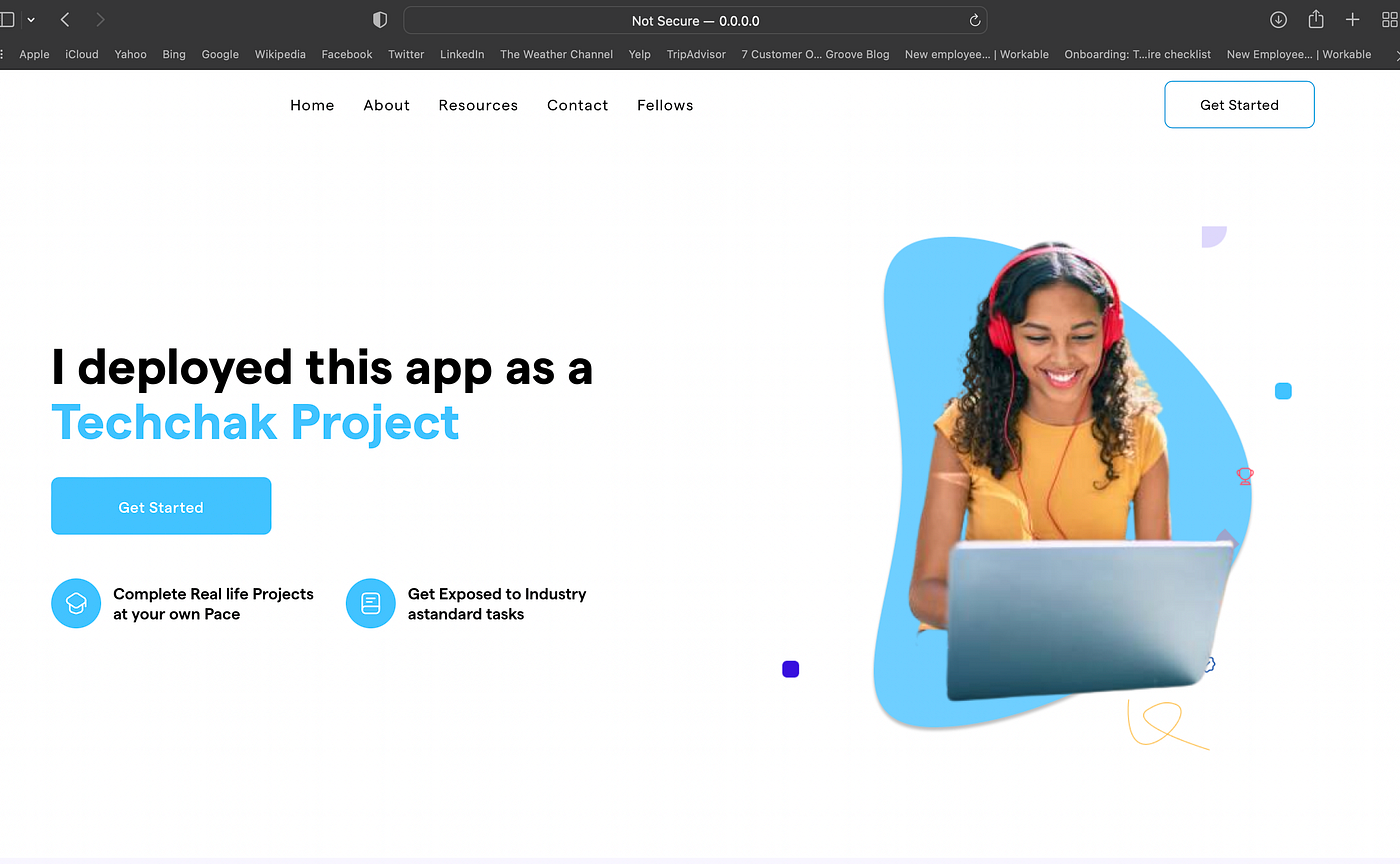
6. Now copy the IP/port 0.0.0.0:3000 and paste it on the browser and you will see that your app is working.
The Next step now is to get this app running on your ECS.
We will have to first push our docker image from our local computer to a repository on the cloud either in ECR or DockerHub. But for this tutorial, I will push it to ECR.
So, let’s get started.
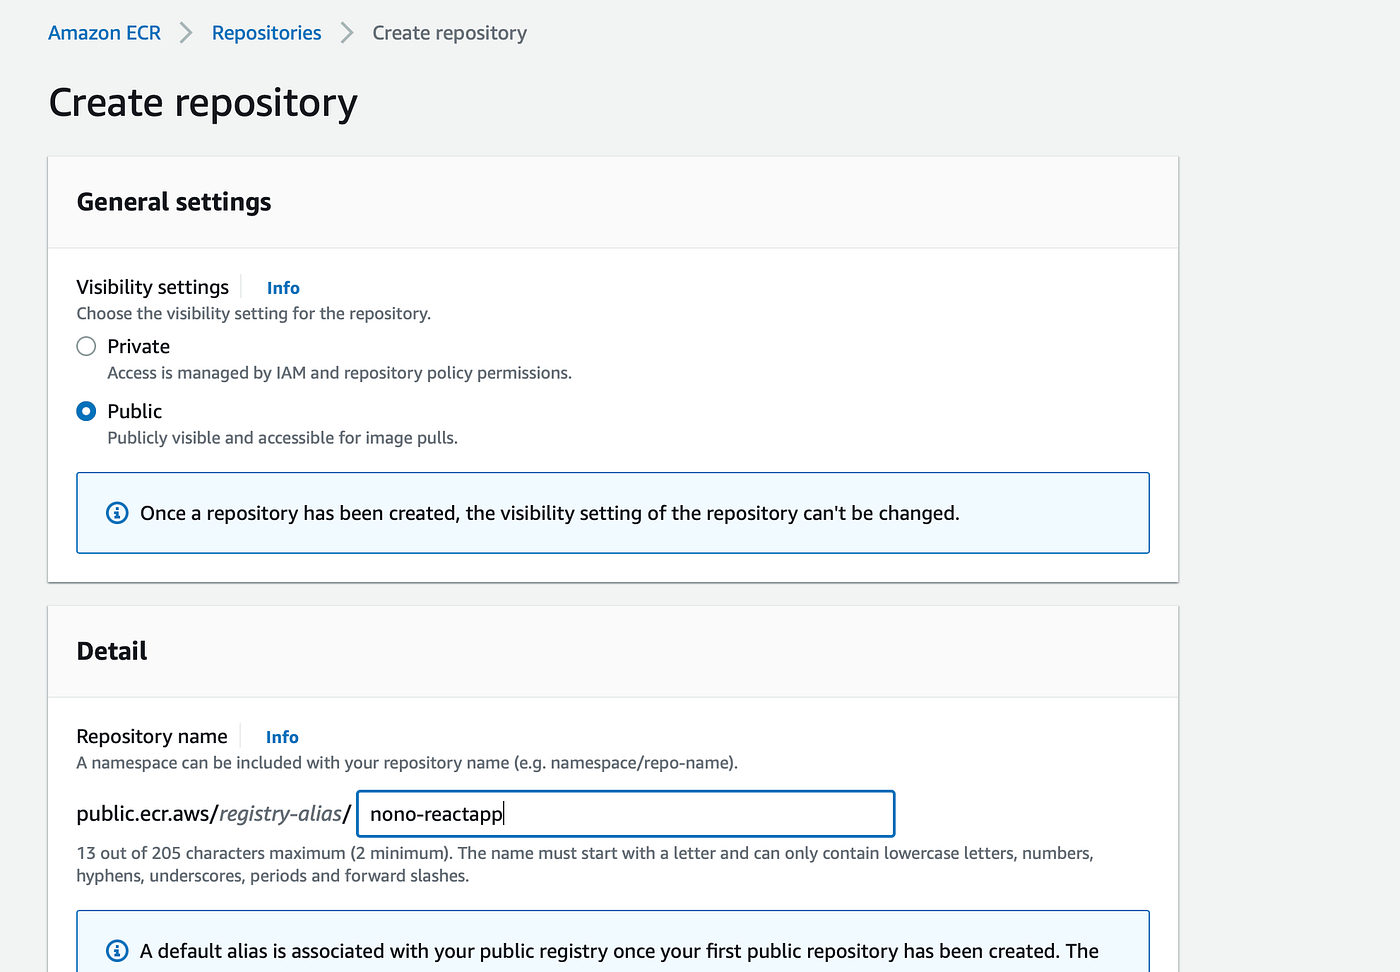
- Go to your AWS Console, navigate to ECR, input these two major details and click on create to create a public repository.
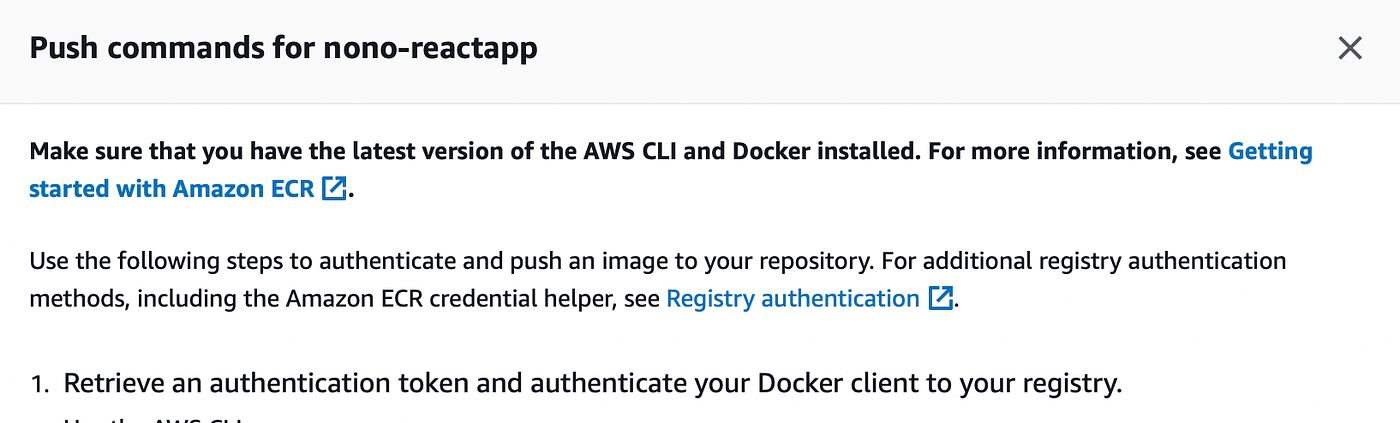
Next is to click on view push commands

- A pop-up will appear on your screen, follow the steps as listed except for the docker build command.
Authenticate your Docker client to your registry and then tag your Docker image to the ECR
docker tag image_idpublic.ecr.aws/registryalias/nono-reactapp:latestor tag it with the image name, so instead of where we have theimage_id, replace it with theimage_name.After tagging it, then push your image to the created repository by inputting the command,
docker pushpublic.ecr.aws/registryalias/nono-reactapp:latest.
Now, we have successfully pushed our image to the cloud on ECR but we still cannot yet run our app on the cloud. To run our React app we need our host and we will be making use of Elastic Container Service (ECS) which is basically EC2 under the hood.
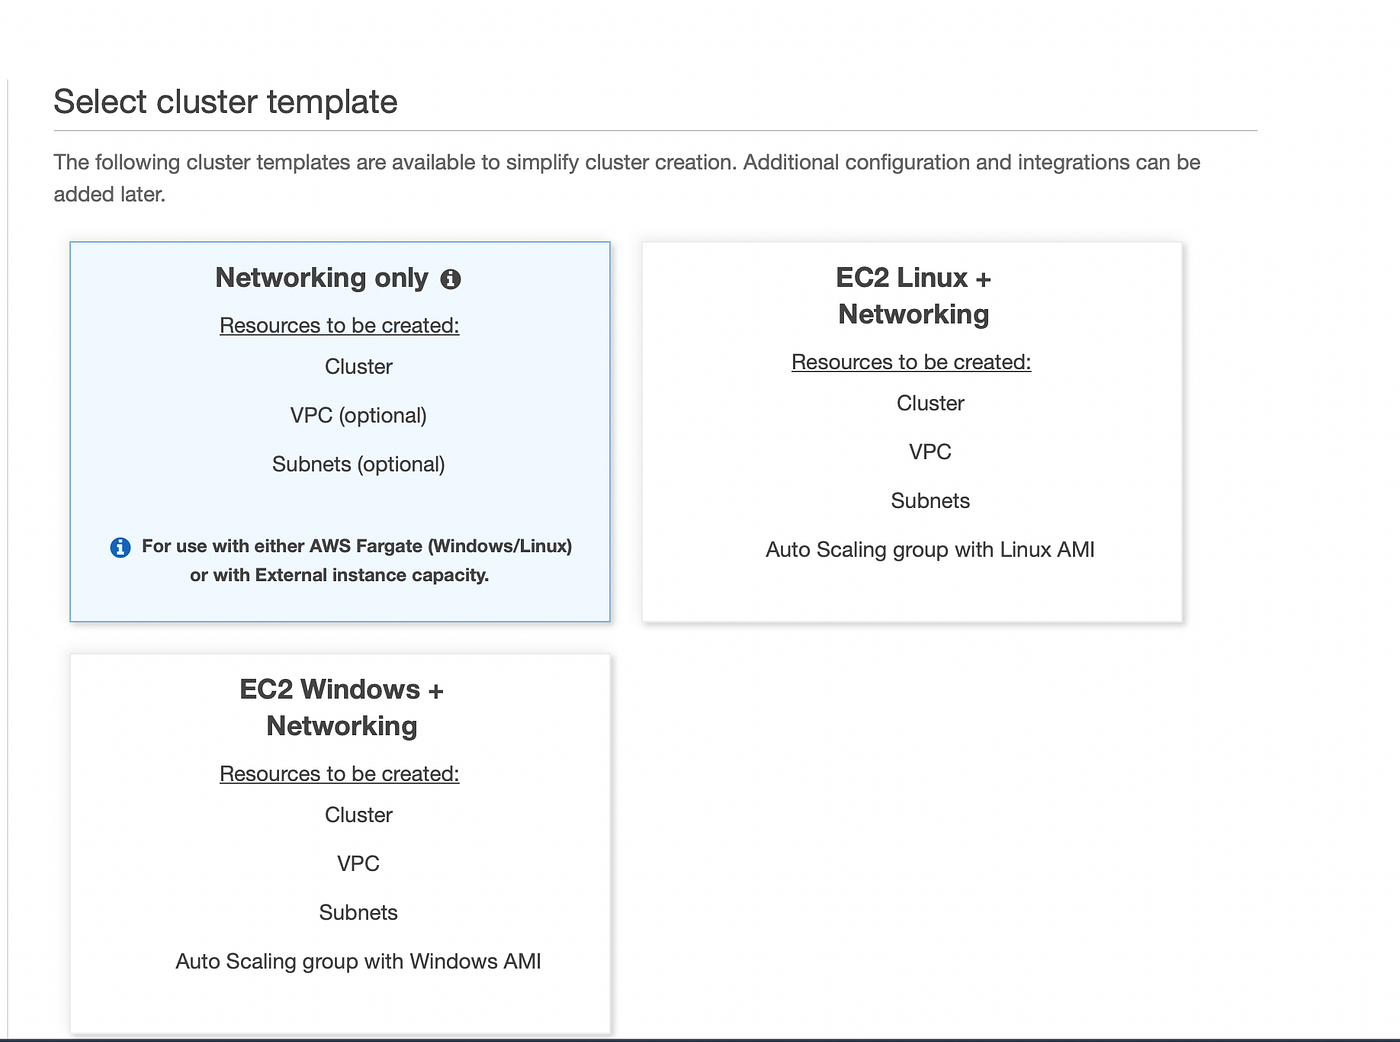
- Navigate to ECS on your AWS Console and create a cluster. Choose the
Networking onlyoption.
N/B: As you can see from the below image, the major difference between the Networking only option and EC2 Linux+ Networking option is that one is serverless and managed using Fargate while the latter has a server.
- Configure the cluster and click on create
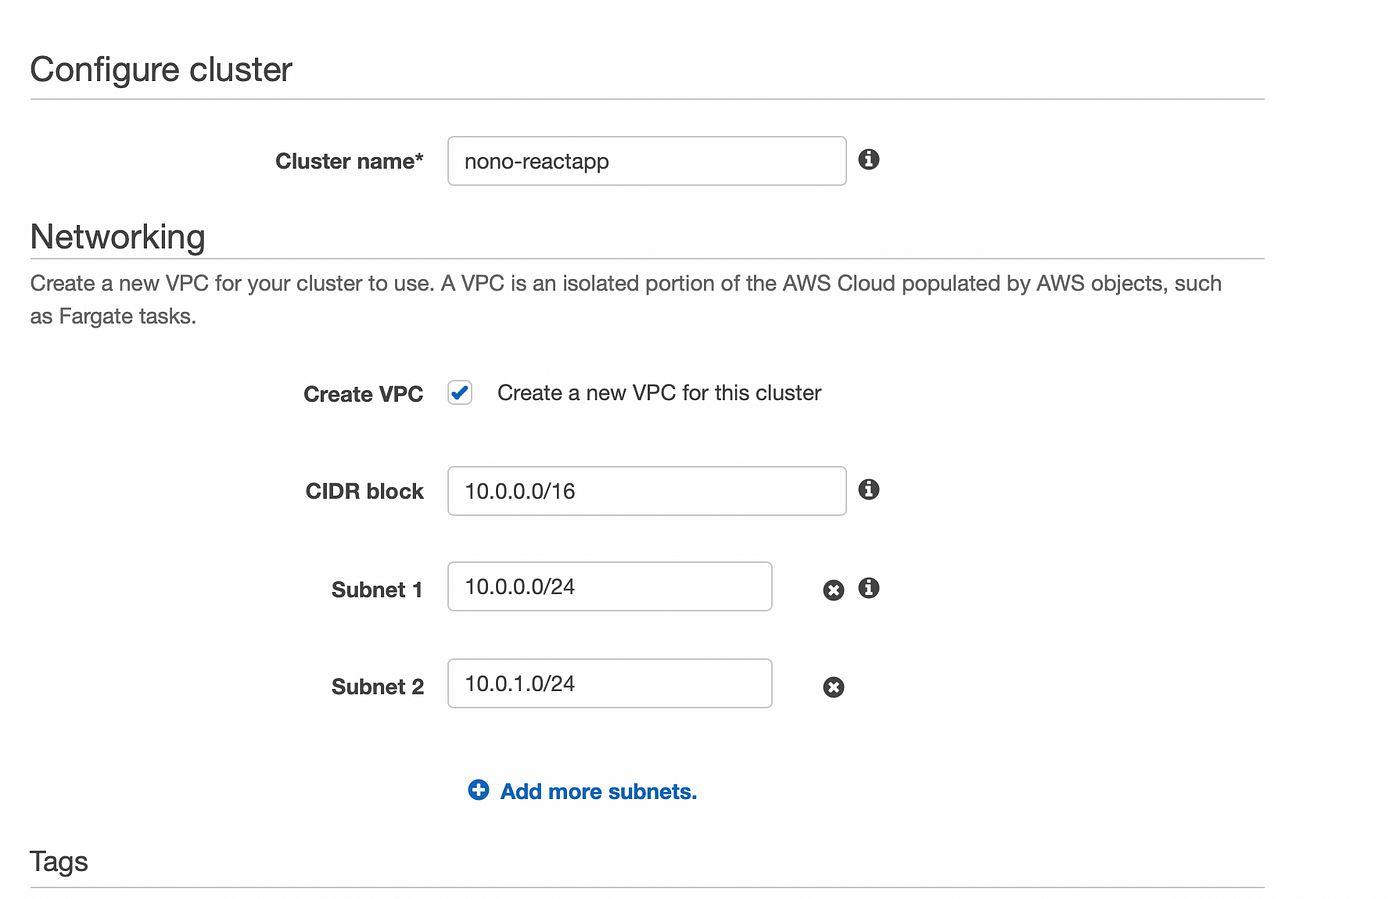
- On the same pane, click on
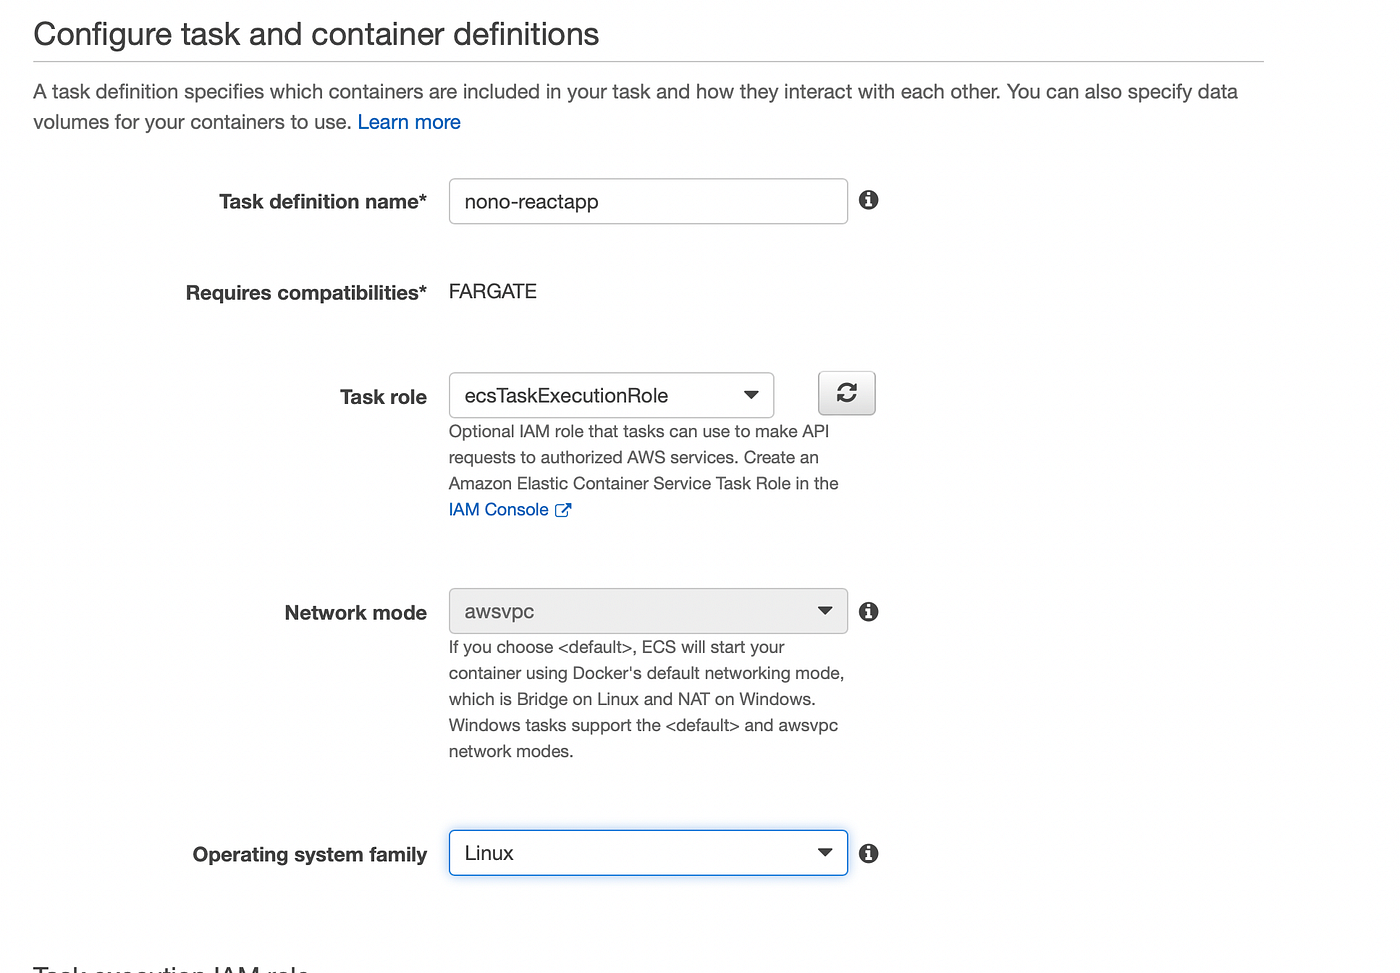
Task Definitionand create one using a Fargate launch type.

- Configure task and container definitions.
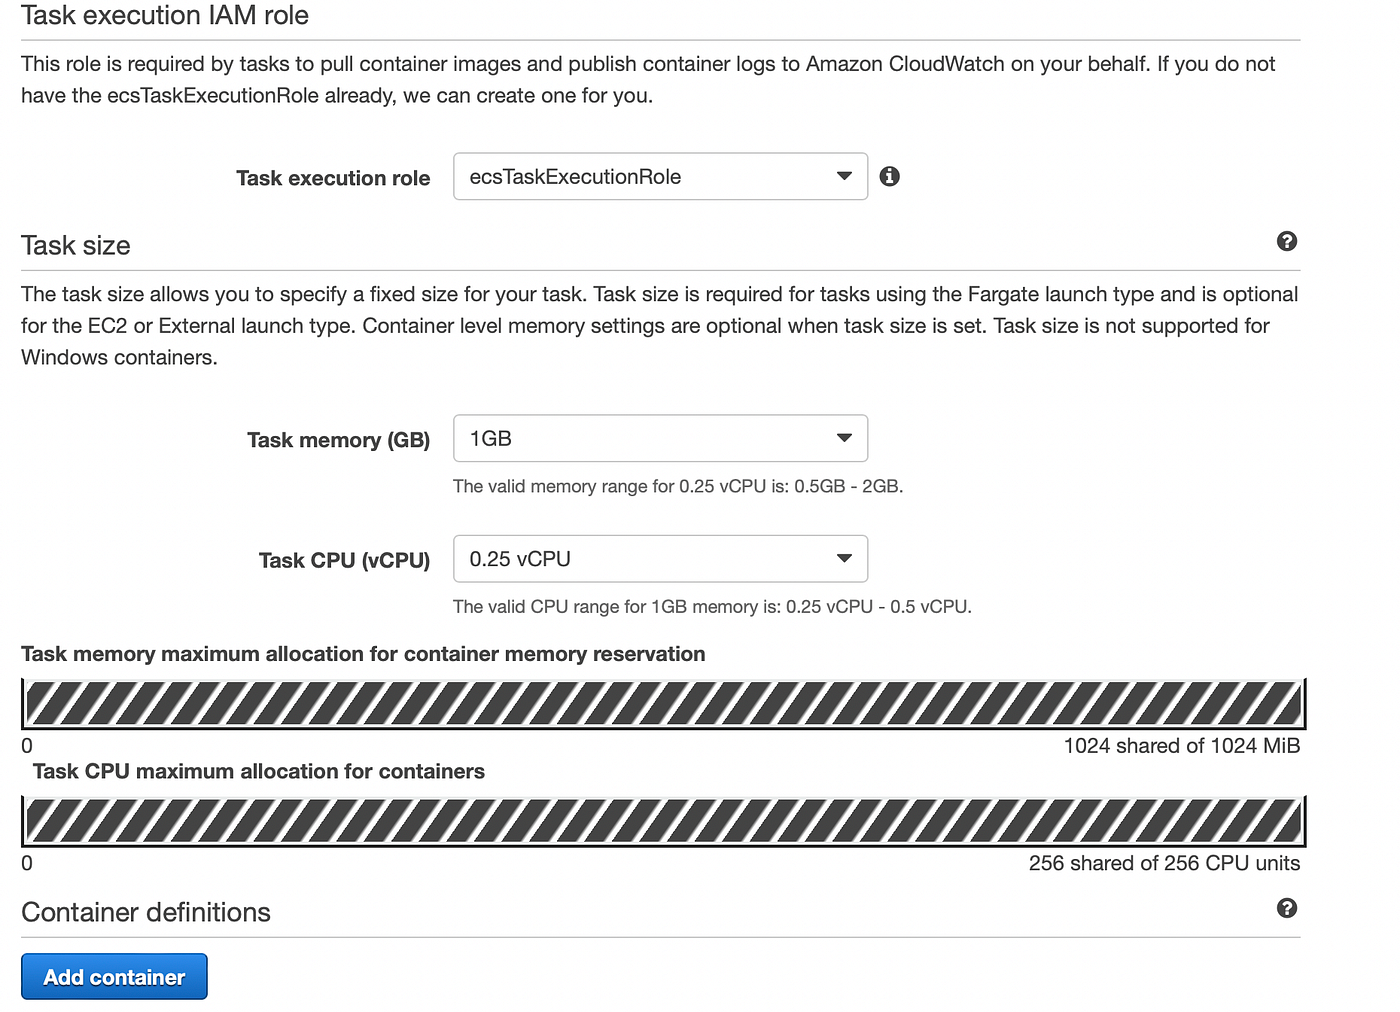
- Add container. This container is basically the container that will host your docker image. Go to ECR and copy the Url. Leave the other boxes and only uncheck the CloudWatch logging box so you do not incur charges.
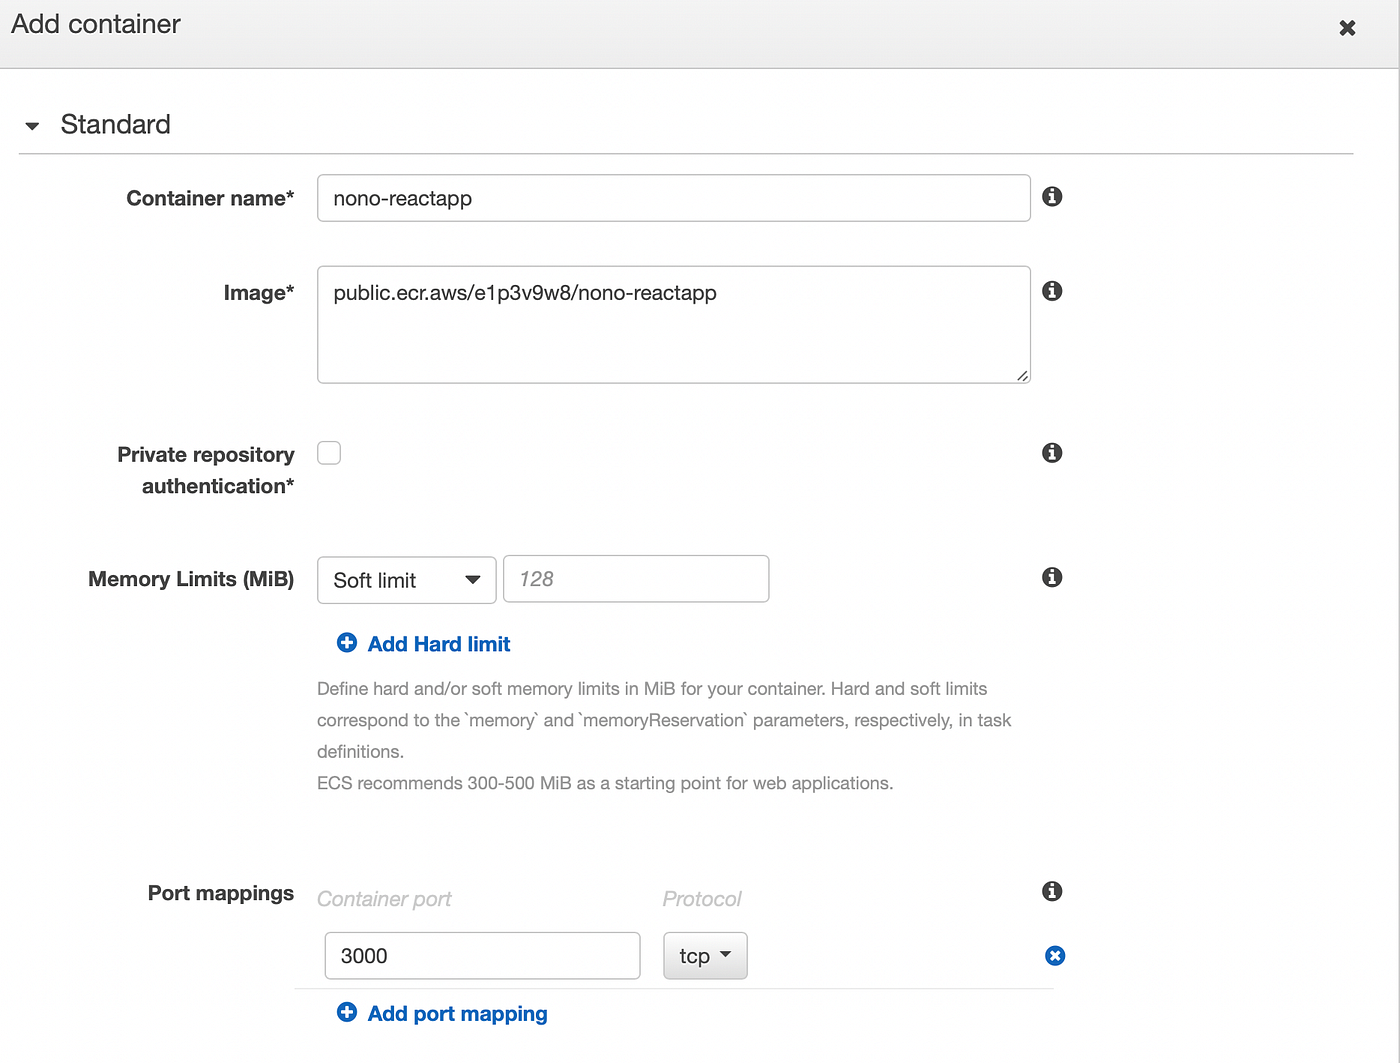
Now you can complete creating your task definition and click on create.
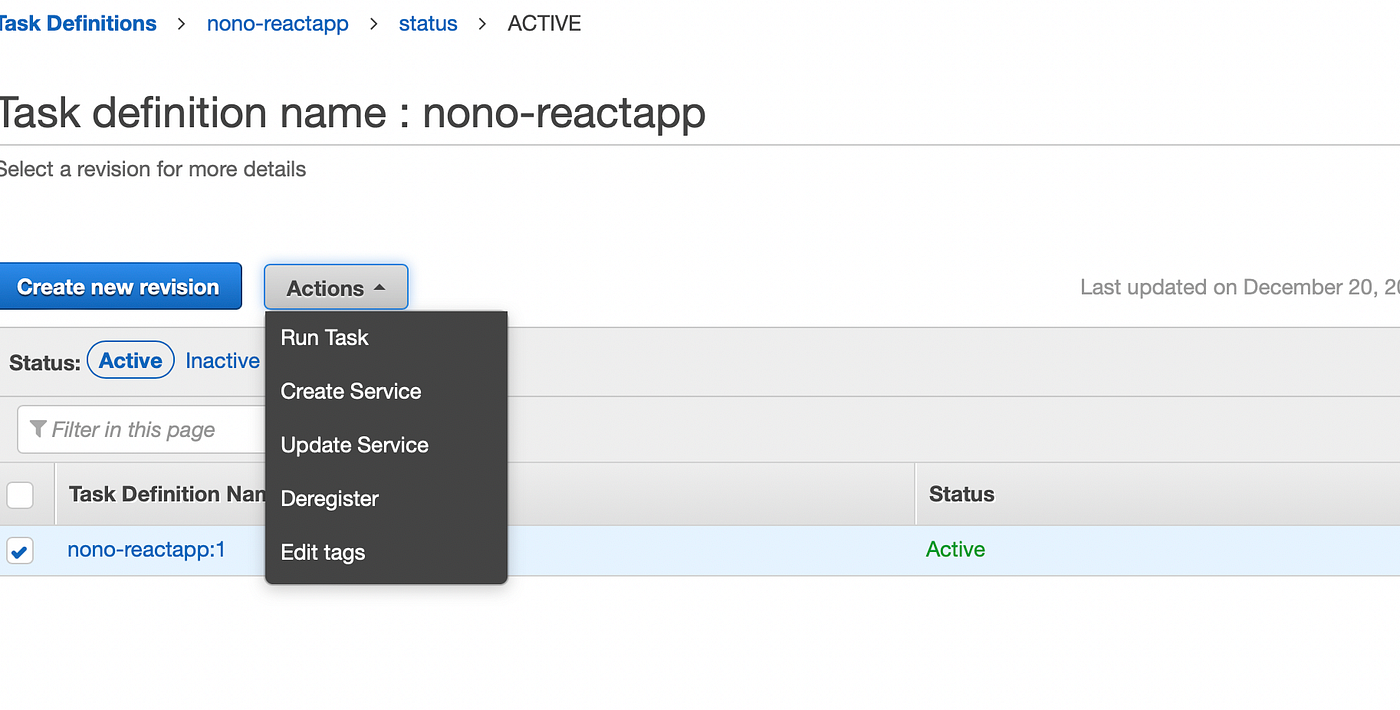
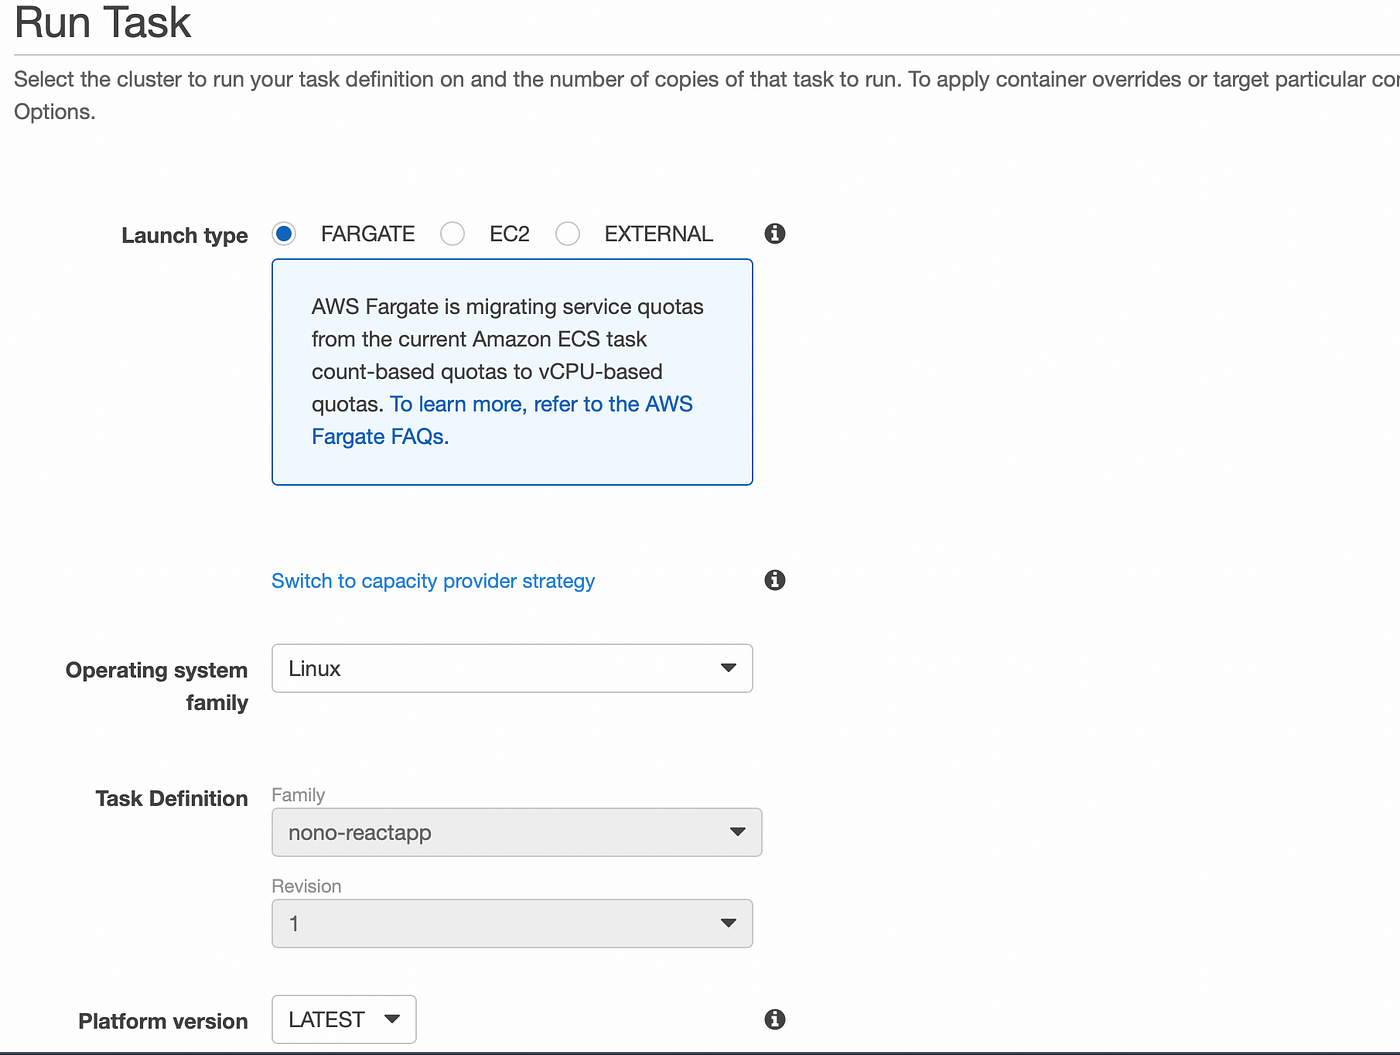
- Next up is to create your Task. Click on
Run Taskon the Action tab dropdown
N/B: The difference between Run Task and Create Service as seen in the drop-down below is that “Create Service” basically acts like an Auto-Scaling Group which will maintain a specific amount of task at all times while with “Run Task” if the task fails for any reason, it is not recreated.
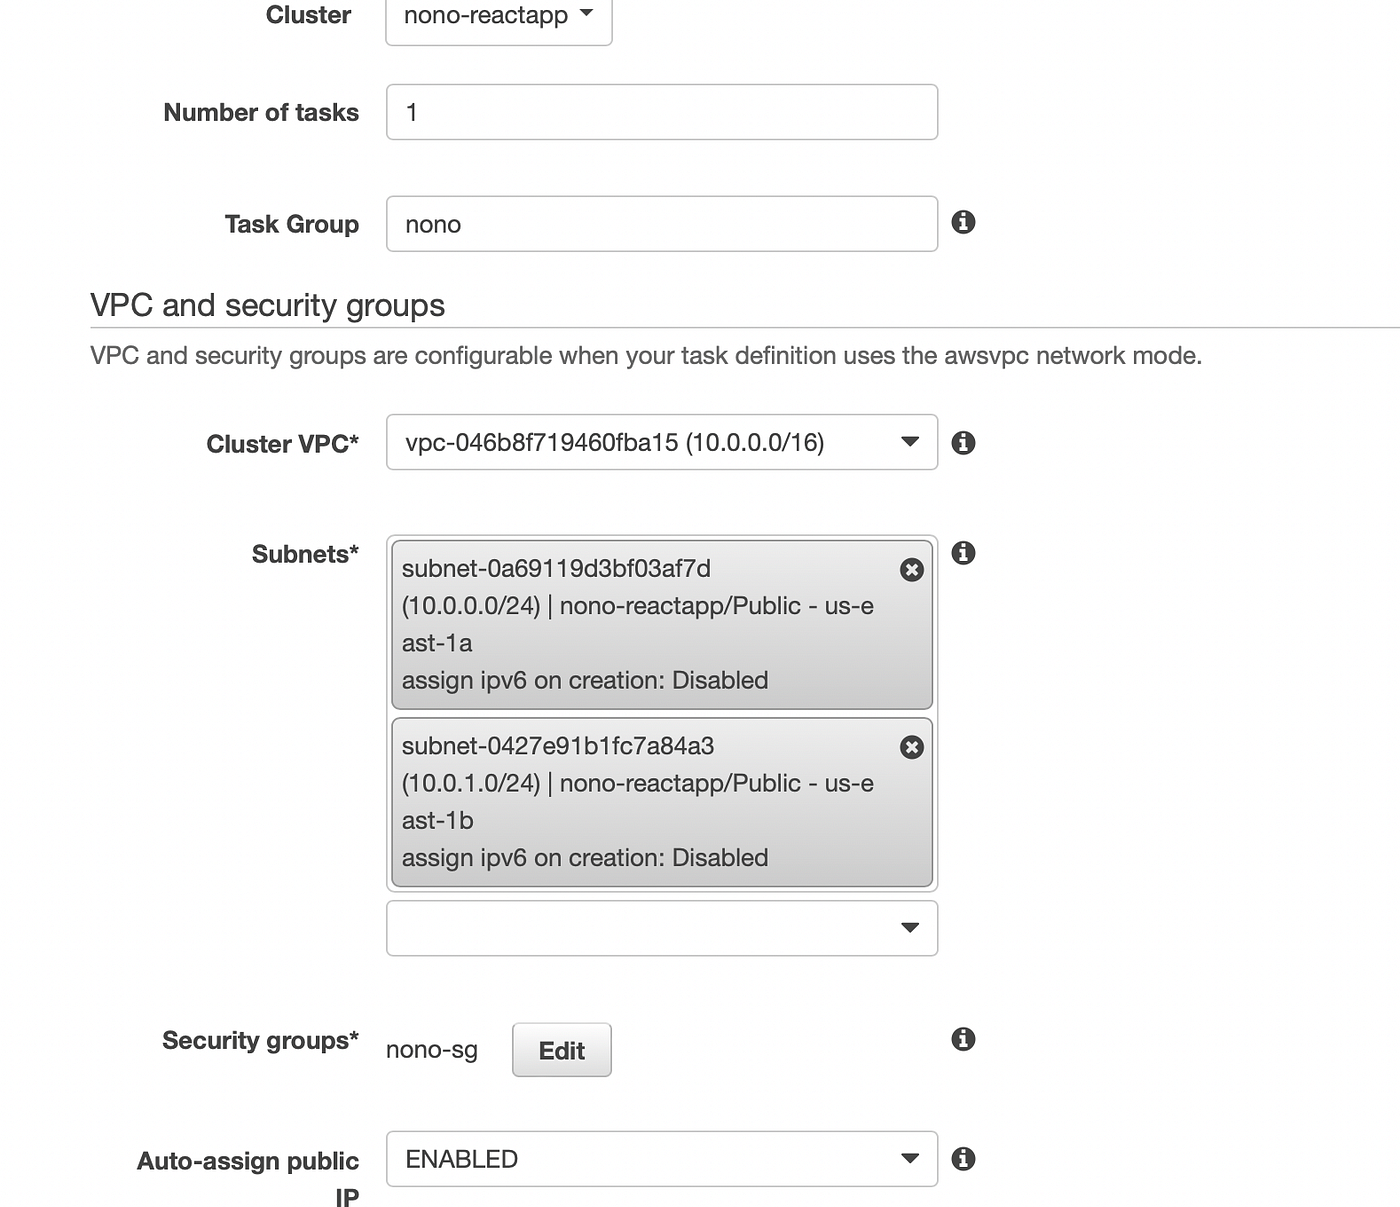
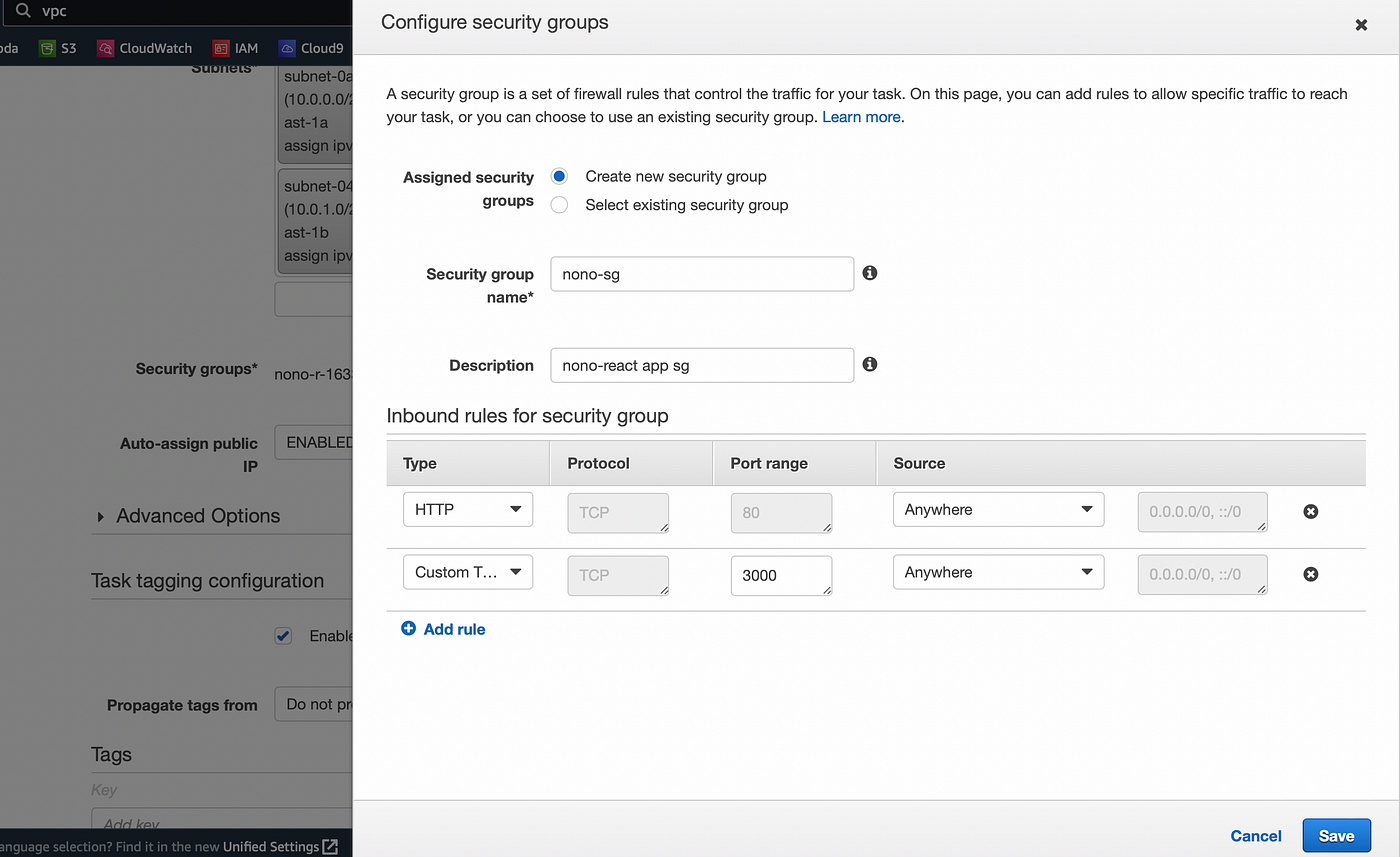
Edit the Security Group and add rule and open port 3000. We are opening this port because this is the port that our app listens on. Also enable Auto-assign public IP and proceed to click on run task.
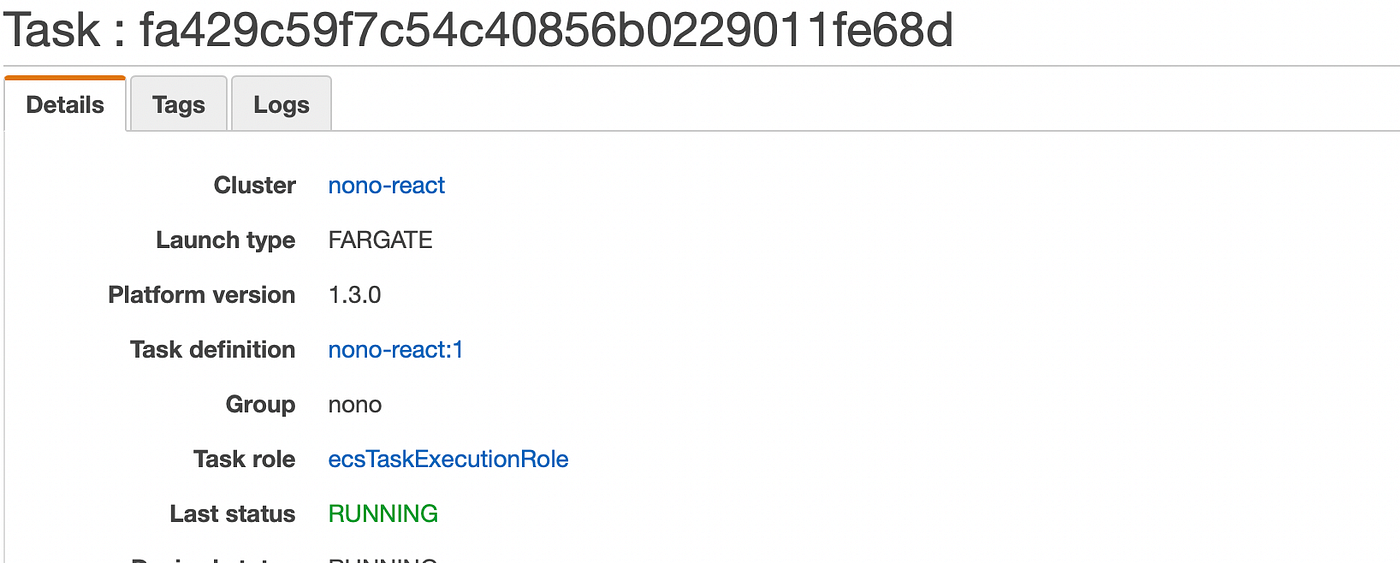
Below shows that the task is in a running state.
Now, grab the Public IP and hit it from your browser and your webite is running!
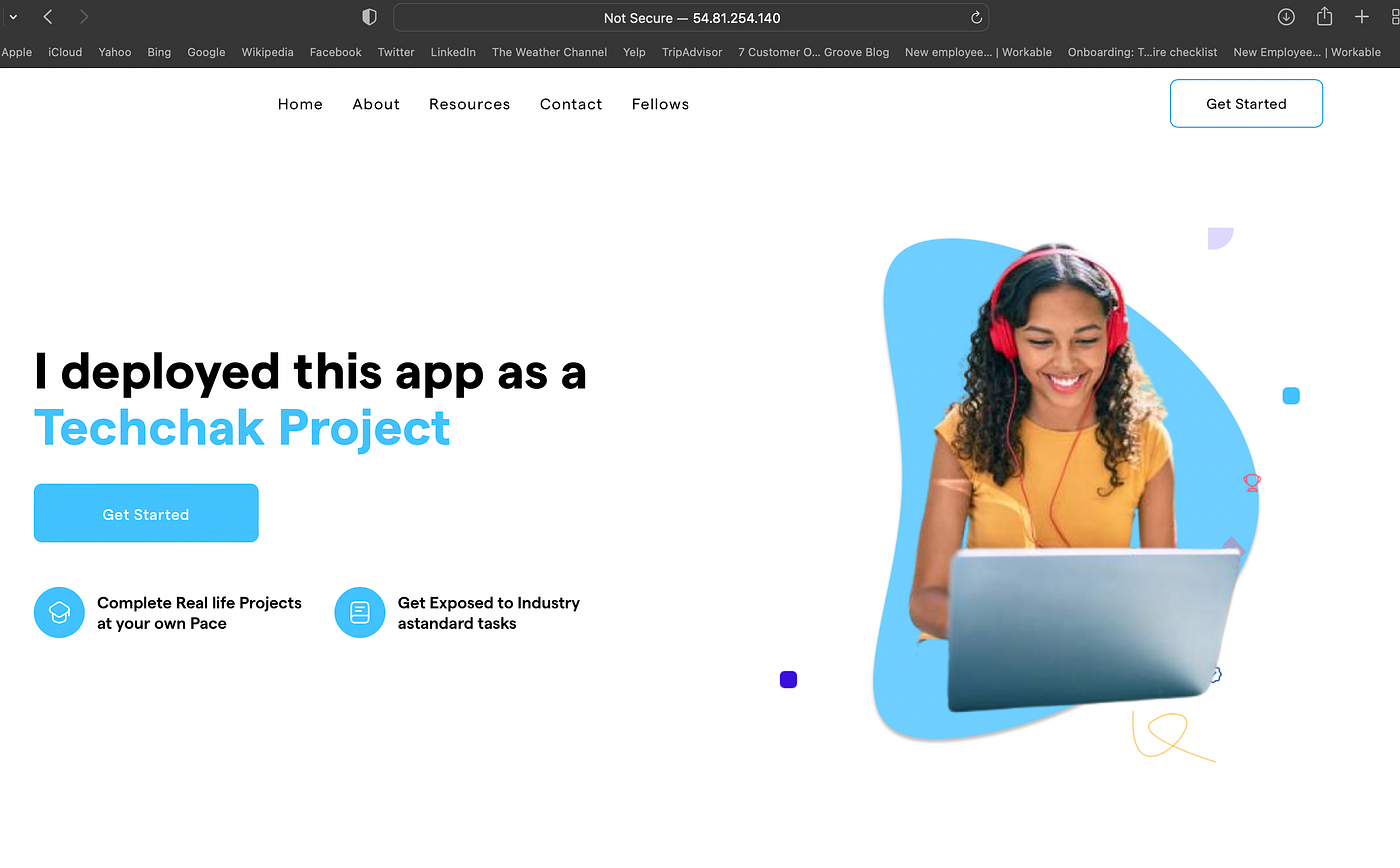
Success!!! You have successfully built and deployed a React app docker image.
Please follow for more content like this. Like, comment, share and check out my other articles here.


